Do not reduce a clearance because the room is tight. Choose a heater shaped for the space instead, such as a slimmer wall model or a corner unit. Brand pages such as Harvia, HUUM and Finnleo link to the makers' sites, where manuals are published.
Mounting the heater
- Use the wall bracket supplied, fixed into solid framing or blocking behind the panelling.
- Set the heater at the height in the manual; it affects how air flows and where the hottest air goes.
- Floor-standing heaters need a level, heat-resistant base and sometimes a bracket to stop them tipping.
- Leave room to lift the heater off its bracket later for service.
Guard rail and heat shield
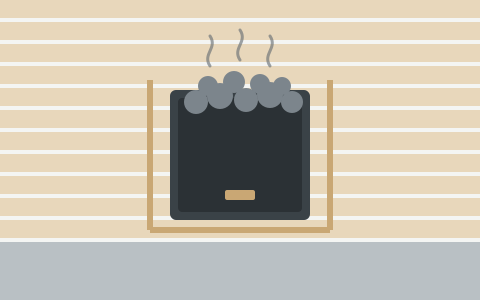
A wooden guard rail around the heater stops people touching the hot body or stones by accident. Many manuals require one, with gaps and distances they specify. Some heaters and most wood stoves also call for a non-combustible heat shield on the wall behind them, with an air gap so heat can escape. Use only the guard and shield designs the manual allows.
Control and sensor
Heaters with separate controls have two parts to place:
- The temperature sensor, usually on the wall or ceiling above the heater at the distance the manual shows. It measures the room and also protects against overheating, so position matters for safety.
- The control panel, often outside the sauna or on the wall away from the heater. Wi-Fi controls also need a decent signal where they sit; see sauna heater controls and Wi-Fi.
Keep the sensor away from the fresh-air inlet and the door, where drafts would make it read low.
Wiring
The heater needs a dedicated 208/240 V circuit with the breaker and wire size in the manual's table, connected by a licensed electrician with a permit and inspection. Inside the hot room, wiring must be rated for high temperatures; the manual specifies the cable type and where it may run. A 120 V outlet is not an option for a full-size heater; 120V sauna heaters explains why.
Stones and first heat-up
- Rinse and dry the stones, then load them loosely, larger ones at the bottom, without wedging them against the elements. See sauna stones.
- Run the heater for the first time with the door and vents open. New elements and stone dust give off a smell that burns away.
- Check that the control reaches the set temperature, the timer works and the heater cycles off.
Final checklist
- Clearances match the manual drawing.
- Guard rail fitted and secure.
- Sensor and control where the manual places them.
- Electrical work inspected and approved.
- Stones loaded loosely and covering the elements.
- Vents open and working.
If the heater does not reach temperature after installation, work through sauna heater repair and troubleshooting.
Questions buyers ask
Can I install a sauna heater myself?
You can place and mount the heater, fit the guard rail and load the stones following the manual, but the 240 V wiring should be done by a licensed electrician with a permit and inspection.
How far should a sauna heater be from the wall?
It depends on the model. Each heater manual has a drawing with minimum distances to side walls, benches, ceiling and floor. Never reduce them.
Does a sauna heater need a guard rail?
Many manuals require a wooden guard rail around the heater so people cannot touch the hot body or stones by accident. Follow the design and distances in your manual.
Where should the sauna temperature sensor go?
Usually on the wall or ceiling above the heater, at the distance the manual specifies, and away from the fresh-air inlet and door.
Last checked November 8, 2026. Facts come from the brands' own sites and documents. How we check